
Creating A Swagger Documentation For RESTful Services
In this blog post we discover creating a Swagger documentation for WebAPI (ASP.NET) and why you should do it too :). If you have any questions on creating a RESTful Service with C# and Visual Studio just look at this tutorial HERE.
First of all - what is Swagger? Swagger lets you create a beautiful and rich documention for your RESTful web services. The creators itselfs calls Swagger "THE WORLD'S MOST POPULAR API TOOLING". Furthermore you can provide an easy way to test your web service with the in-built functionality from swagger. And the best part of it? It's free. And what makes it even better? You just have to add a nuget package to your WebApi project to automatically create an interactive documentation.
The nuget package you want to use is called Swashbuckle. Double check if there is a new version - if so you just can update the command to match the latest version number.
By running the following command you add all needed files to your current project (make sure to always use the latest version).
Install-Package Swashbuckle -Version 5.6.0
After the successful install process you will find a new file within the App_Start folder called SwaggerConfig.
App_Start -> SwaggerConfig.cs
If you don't need anything special you don't really want do modify this file - just leave it as it is for the moment.
To see how your Swagger documentation looks like just run the Application by pressing F5 or the green start button. Make sure that you have chosen a Browser to run with. After the build of your project succeeds the browser window with your Home Controller will open. To navigate to your Swagger Documentation just enter /swagger to your given url. The url should look like the following example.
http://localhost:49442/swagger
If you have entered the url you should be navigated to the documentation and test page. It will look similar to the following screenshot of mine.
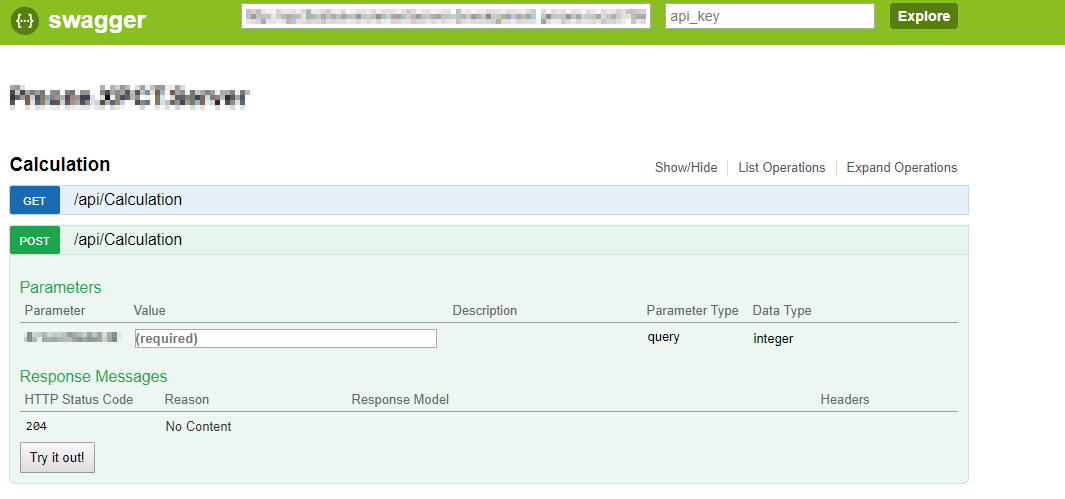
On this page you can easily open every single controller you have defined in your WebApi Project. Within every controller section you will find all the available Http Methods (for example get, put, post, delete etc.) which you can test and execute immediately by using the "Try it out!" button from this swagger page.
That's everything you need to do to add an stunning swagger documentation to your WebApi Project.
Happy Swaggering :).