
Creating A REST Webservice With C# And Visual Studio
In this tutorial Creating A REST Webservice I guide you through the process of creating a RESTful Webservice with C# and Visual Studio.
CLICK HERE to go to the updated version for creating a REST Webservice for .NET Core.
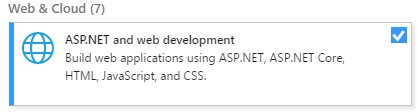
For this demo I am using Visual Studio 2017 with the ASP.NET and web development package installed.
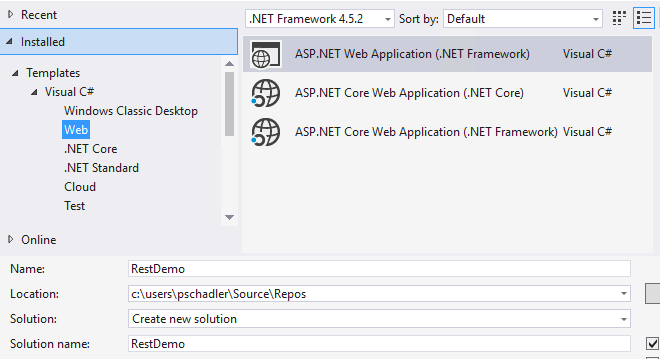
Within Visual Studio we create a new ASP.NET Web Application Project by navigation to "File -> New -> Project" and selecting "ASP.NET Web Application (.NET Framework)".
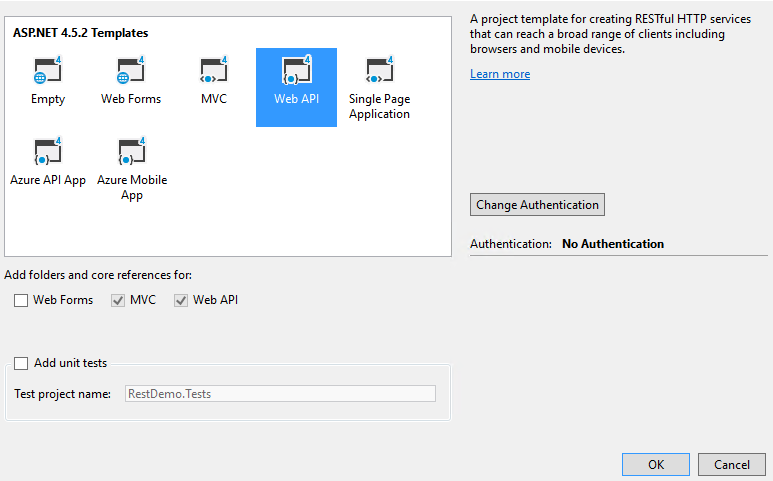
On the next screen it is important to choose the "Web API" template. This template automatically creates a skeleton of a rest interface.
After the creation of the project structure we hit run to see what Visual Studio initially provides us.
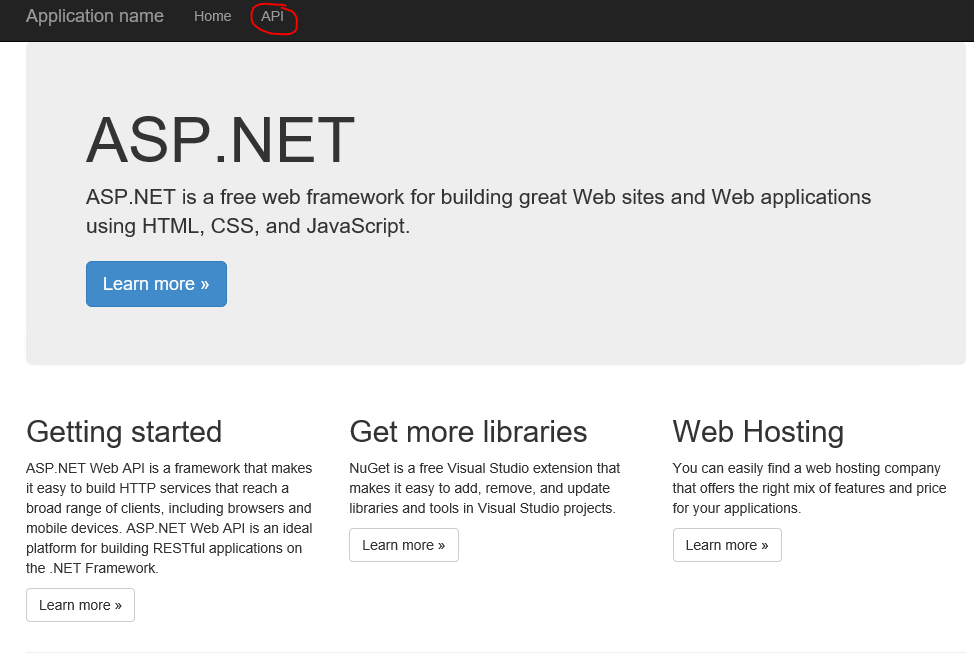
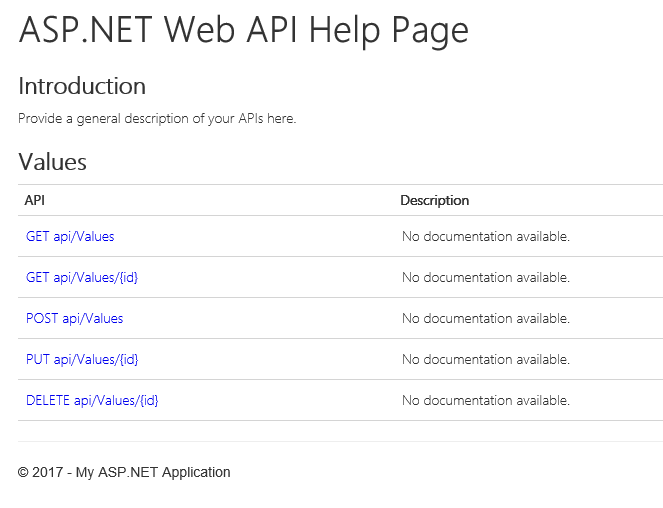
By navigation to API we have access to the template REST methods and their documentation, which are created by default from Visual Studio.
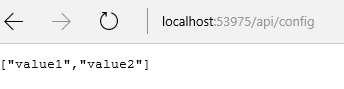
Alright. If you now type in "http://localhost:53975/api/values" (the port may vary on your local environment) in the browser, you'll get a return value of type JSON.
["value1","value2"]
his REST methods and their return values are defined in the ValuesController within the Controller folder of your Web API project. There you find all your methods like Get, Post, Put, Delete etc.
public class ValuesController : ApiController
{
    // GET api/values
    public IEnumerable<string> Get()
    {
        return new string[] { "value1", "value2" };
    }

    // GET api/values/5
    public string Get(int id)
    {
        return "value";
    }

    // POST api/values
    public void Post([FromBody]string value)
    {
    }

    // PUT api/values/5
    public void Put(int id, [FromBody]string value)
    {
    }

    // DELETE api/values/5
    public void Delete(int id)
    {
    }
}
If you want to change the URL  you have to make amendments within the WebApiConfig.cs file in the App_Start Folder.
config.Routes.MapHttpRoute(
    name: "DefaultApi",
    routeTemplate: "api/{controller}/{id}",
    defaults: new { id = RouteParameter.Optional }
);
With this code every API call has to be structured with "api/{name of your Controller}/{id}.
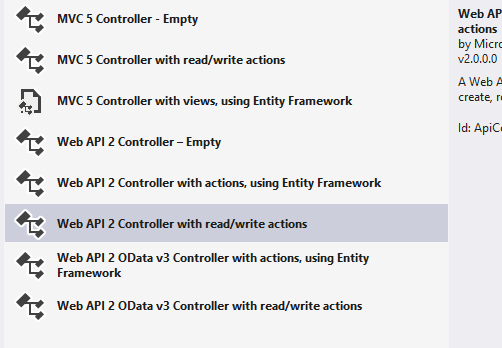
By adding a new Controller you can choose between various templates. In this demo I'll use the Web API 2 Controller with read/write actions.
The name of the new controller is "ConfigController".
After starting the application by pressing F5 we now have an additional REST interface by calling the URL "http://localhost:53975/api/config", which references to the ConfigController by its name.
And that's basically it. You can now change the interfaces to your naming convention, add logic to the different methods and return whatever data you want.
Video Tutorial on YouTube:
Happy coding :-).