

Creating A REST Webservice With .NET Core
In this tutorial Creating A REST Webservice With .NET Core I will show you how to create a REST Webservice with .NET Core easy and fast. For this purpose we will need Visual Studio. I will use the very same version as in my other tutorial for .NET Classic. However, since .NET Core doesn't only rely on windows you can look for any other major platform like MAC OS or Linux to get things up and running.
Create the Project
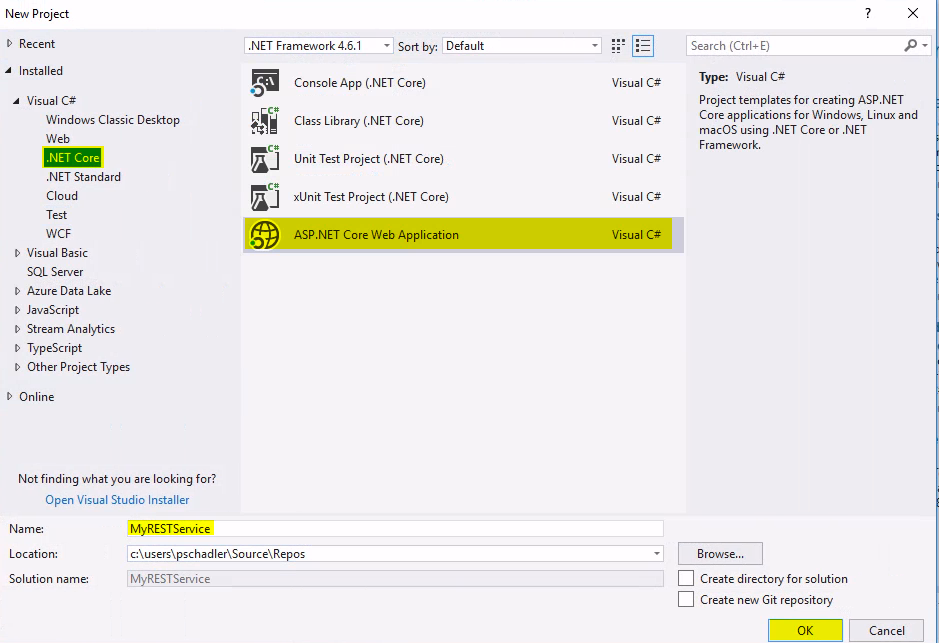
In the first step we create a .NET Core Project and we call it MyRESTService.
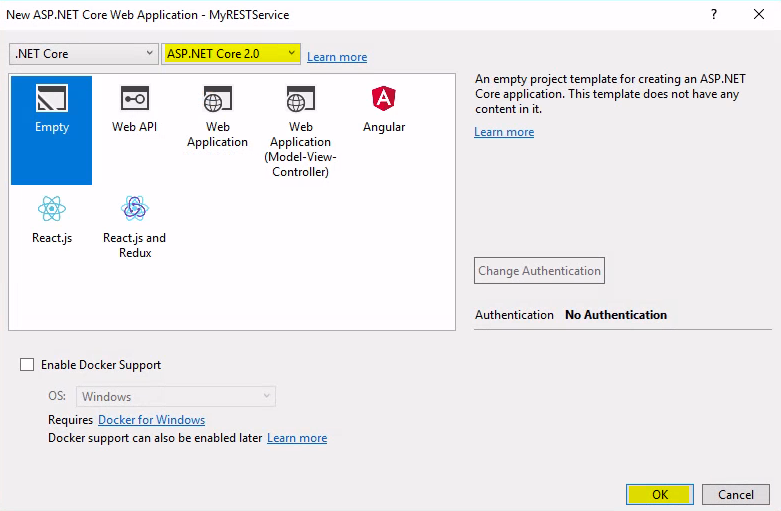
Within the second screen you can choose between multiple options, but if you want to go as clean as possible you should opt for the Empty Template. Make also sure that you are on the most current version of .NET Core - in my case it is 2.0.
After that confirm your selection with OK and Visual Studio automatically starts creating your project.
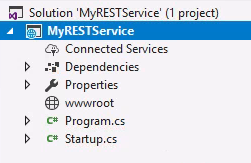
Right after the creation process you will see this project in your solution explorer.
If we run this empty Template project by pressing F5 or the green Run Icon we see nothing but a Hello World! output in the browser. Technically your project is build and deployed to your local internet information server instance which works as a webserver.
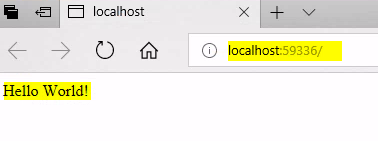
In your Startup.cs you will find something like this snippet which creates the Hello World output.
// This method gets called by the runtime. Use this method to configure the HTTP request pipeline.
        public void Configure(IApplicationBuilder app, IHostingEnvironment env)
        {
            if (env.IsDevelopment())
            {
                app.UseDeveloperExceptionPage();
            }

            app.Run(async (context) =>
            {
                await context.Response.WriteAsync("Hello World!");
            });
        }
So far so good, but we want to create a REST Webservice where we can make at least a GET call to retrieve some data. For this purpose select the wwwroot symbol - press right click and choose Add Controller.

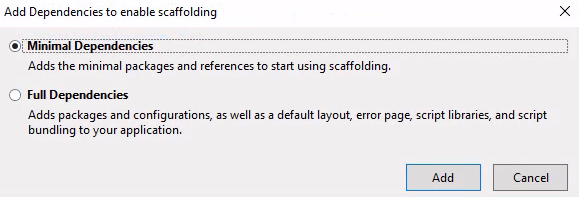
Because we want a very clean project we choose only to add the minimal dependencies to our project in the next dialog. However, if you want to use some of the listed stuff which is included in the full package you can also choose otherwise.
Amend the Startup.cs
In the process of creating a project Visual Studio will create a ScaffoldingReadMe.txt - make sure that you follow the steps there.
ASP.NET MVC core dependencies have been added to the project.
(These dependencies include packages required to enable scaffolding)

However you may still need to do make changes to your project.

1. Suggested changes to Startup class:
    1.1 Add a constructor:
        public IConfiguration Configuration { get; }

        public Startup(IConfiguration configuration)
        {
            Configuration = configuration;
        }
    1.2 Add MVC services:
        public void ConfigureServices(IServiceCollection services)
        {
            // Add framework services.
            services.AddMvc();
       }

    1.3 Configure web app to use use Configuration and use MVC routing:

        public void Configure(IApplicationBuilder app, IHostingEnvironment env)
        {
            if (env.IsDevelopment())
            {
                app.UseDeveloperExceptionPage();
            }

            app.UseStaticFiles();

            app.UseMvc(routes =>
            {
                routes.MapRoute(
                    name: "default",
                    template: "{controller=Home}/{action=Index}/{id?}");
            });
        }
This Configuration tells your program to handle requests which are sent to the webserver. Now we have to do the Add Controller action once more to get the dialog where we can choose which Controller type we want to add. I would highly recommend to create a dedicated Controller folder where all of you controllers are together.
Adding custom controllers
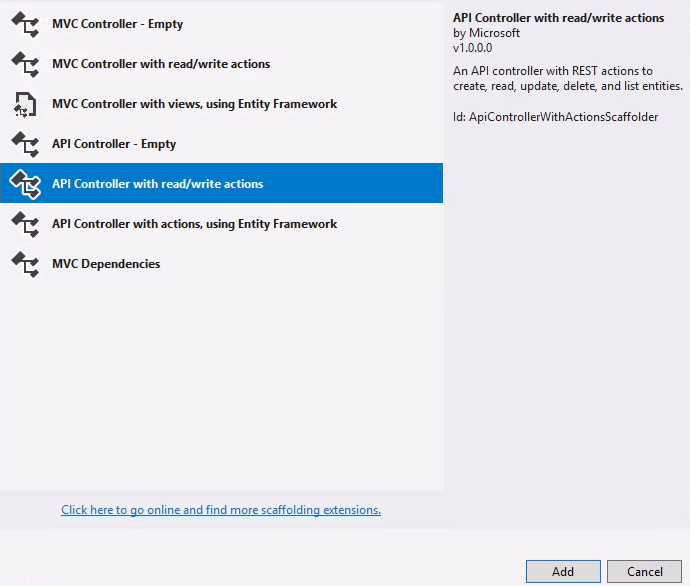
In the next dialog we choose the API Controller with read/write actions. I would recommend this to users who just started with all of this just because you get all actions pre-created.
We choose to name the Controller PersonController. Within the controller folder now the PersonController is created and accessible.

If you now run the application again you firstly will notice that you will get an 404 - not found error, but don't worry, that is because we removed the Hello World prior with the updated methods from the ScaffoldingReadMe.txt. Just add /api/person to your url - in my case it looks like http://localhost:59336/api/person - and you will trigger the GET function to receive and array of strings with value1 and value2 as values.
You can also change the launchUrl which will be accessed after starting your application by updating your launchSettings.json (located in the Properties folder) like the example below.
{
  "iisSettings": {
    "windowsAuthentication": false,
    "anonymousAuthentication": true,
    "iisExpress": {
      "applicationUrl": "http://localhost:59336/",
      "sslPort": 0
    }
  },
  "profiles": {
    "IIS Express": {
      "commandName": "IISExpress",
      "launchBrowser": true,
      "launchUrl": "api/person",
      "environmentVariables": {
        "ASPNETCORE_ENVIRONMENT": "Development"
      }
    },
    "MyRESTService": {
      "commandName": "Project",
      "launchBrowser": true,
      "launchUrl": "api/person",
      "environmentVariables": {
        "ASPNETCORE_ENVIRONMENT": "Development"
      },
      "applicationUrl": "http://localhost:59337/"
    }
  }
}
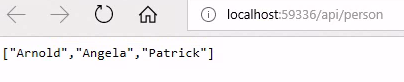
To see if the GET function works as you expected you can simply change the values to see if the results differs. In my test I just renamed the values to names and added a third one.
// GET: api/Person
        [HttpGet]
        public IEnumerable<string> Get()
        {
            return new string[] { "Arnold", "Angela", "Patrick" };
        }
The result also changed as expected.
So we can assume that everything is working as expected. If you do need - and you probably will - more than one controller just repeat the prior steps.
If you have any questions do not hesitate to use the comment section below and as always - happy coding :).