Using OData in an ASP.NET CORE Application
Prologue
At the end of this tutorial, you will be using OData v4 in an ASP.NET CORE Web Application. OData provides a powerful and stable querying language that will help you to write less code and get more. To learn more about OData visit the official Homepage at https://odata.org. In the whole tutorial, I will be using the command line to create the project and add the needed dependencies. Through this procedure, everyone - and not only Windows users - can use this guide. However, for Windows users, there are equivalent ways provided by Visual Studio if you decide to do so. If you want to jump directly in the source code hop over to my GitHub Repository and clone it on your system.
Creating the Project
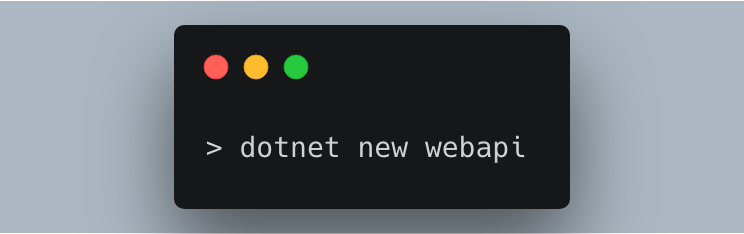
As the first step, we have to create a project which holds all the source code and logic for us. In this case, we are going for a dot net core webapi project.
After creating the project we can run it simply by typing in the following command.
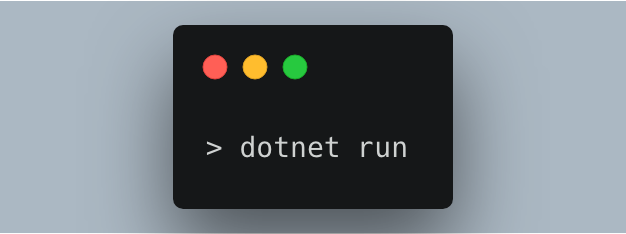
The default Controller in the webapi project is always the values controller. By typing in https://localhost:5001/api/values we should see some values ("value1" and "value2") displayed in the browser. Don't forget to trust the certificate or use the non-https url http://localhost:5000/api/values to get the values.
In the next step we are going to add the ASP.NET Core OData package to our newly created project.

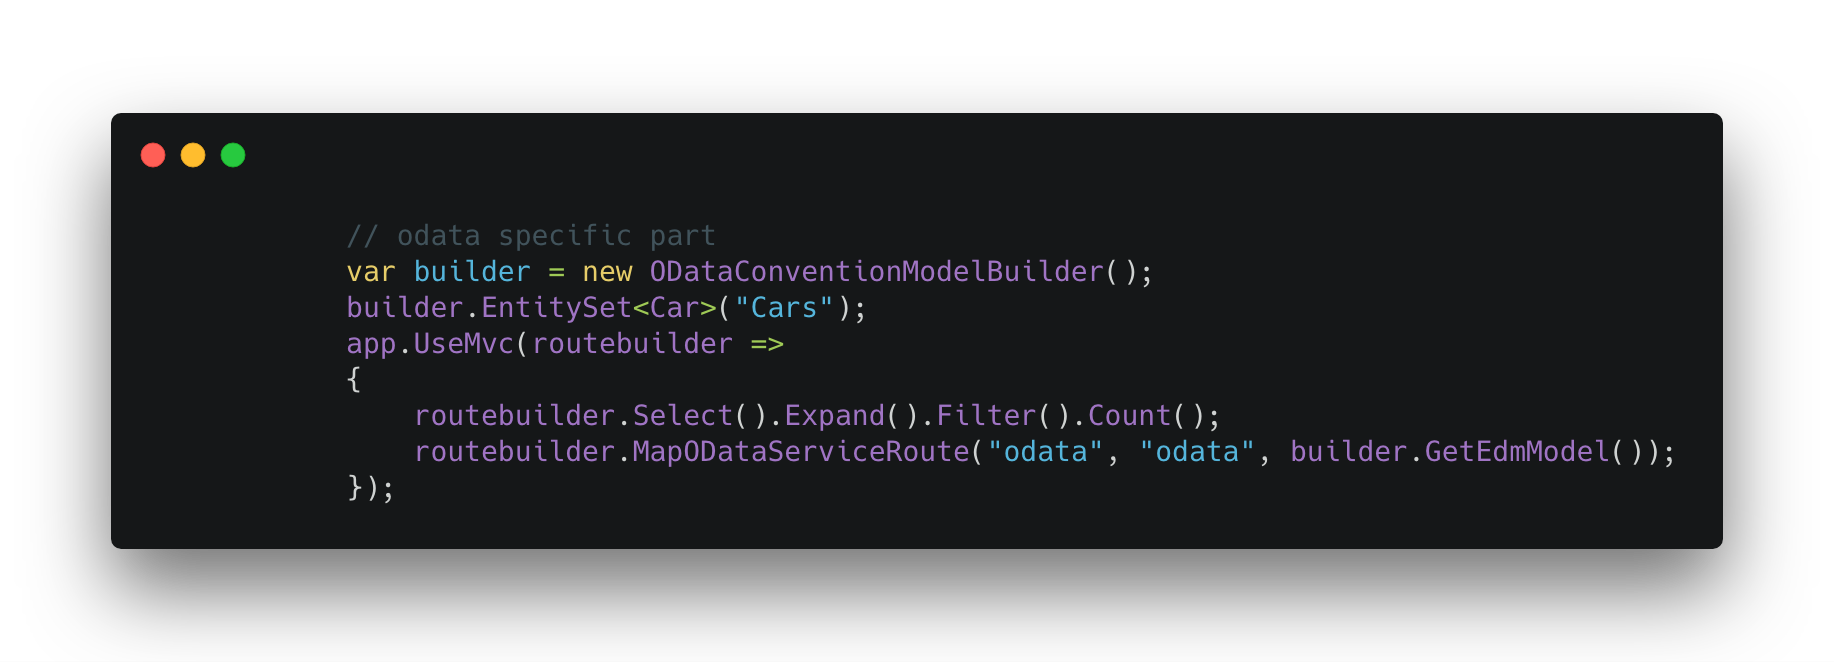
After adding the package we have to configure the application to use the OData package and provide the endpoints. For this, we add the OData related parts to the Startup.cs.
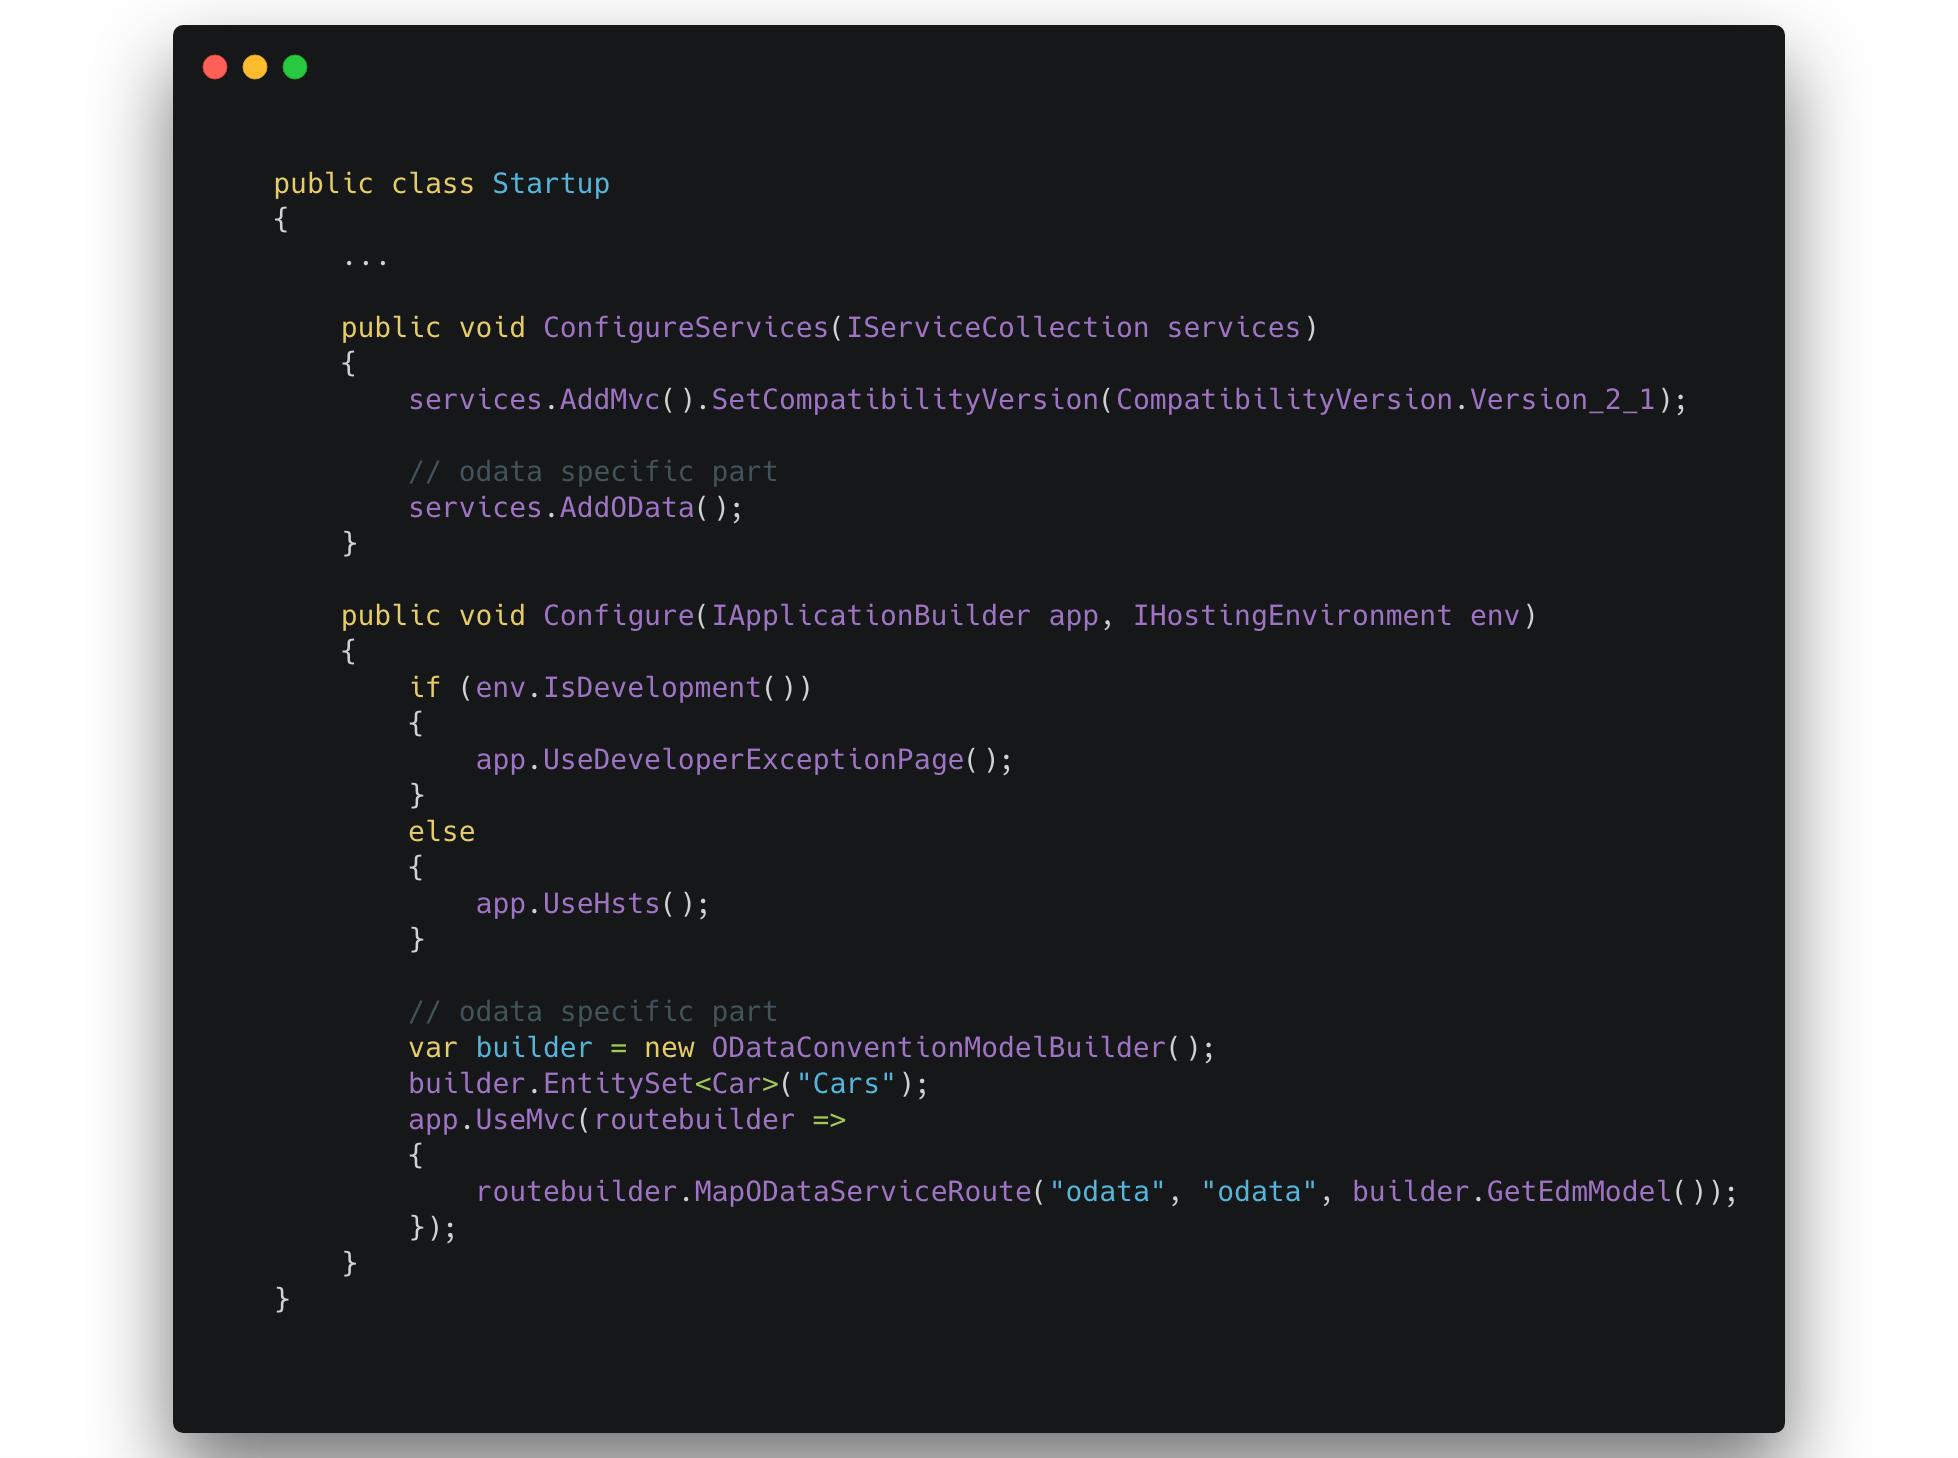
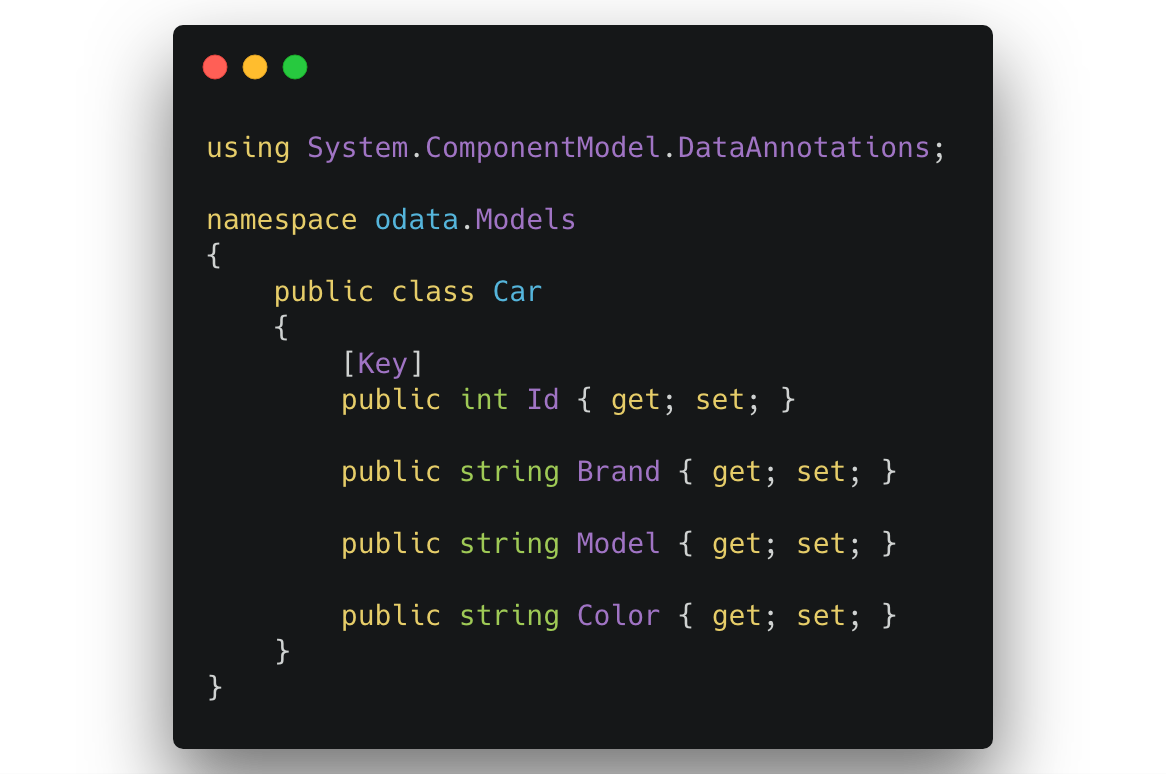
As you see in the Startup.cs I am adding a Cars Model to the builder. This model has the following properties.
Testing the Configuration
Alright, if you now call the metadata endpoint like https://localhost:5001/odata/$metadata you should retrieve the information of all registered entities - in our case the Car.
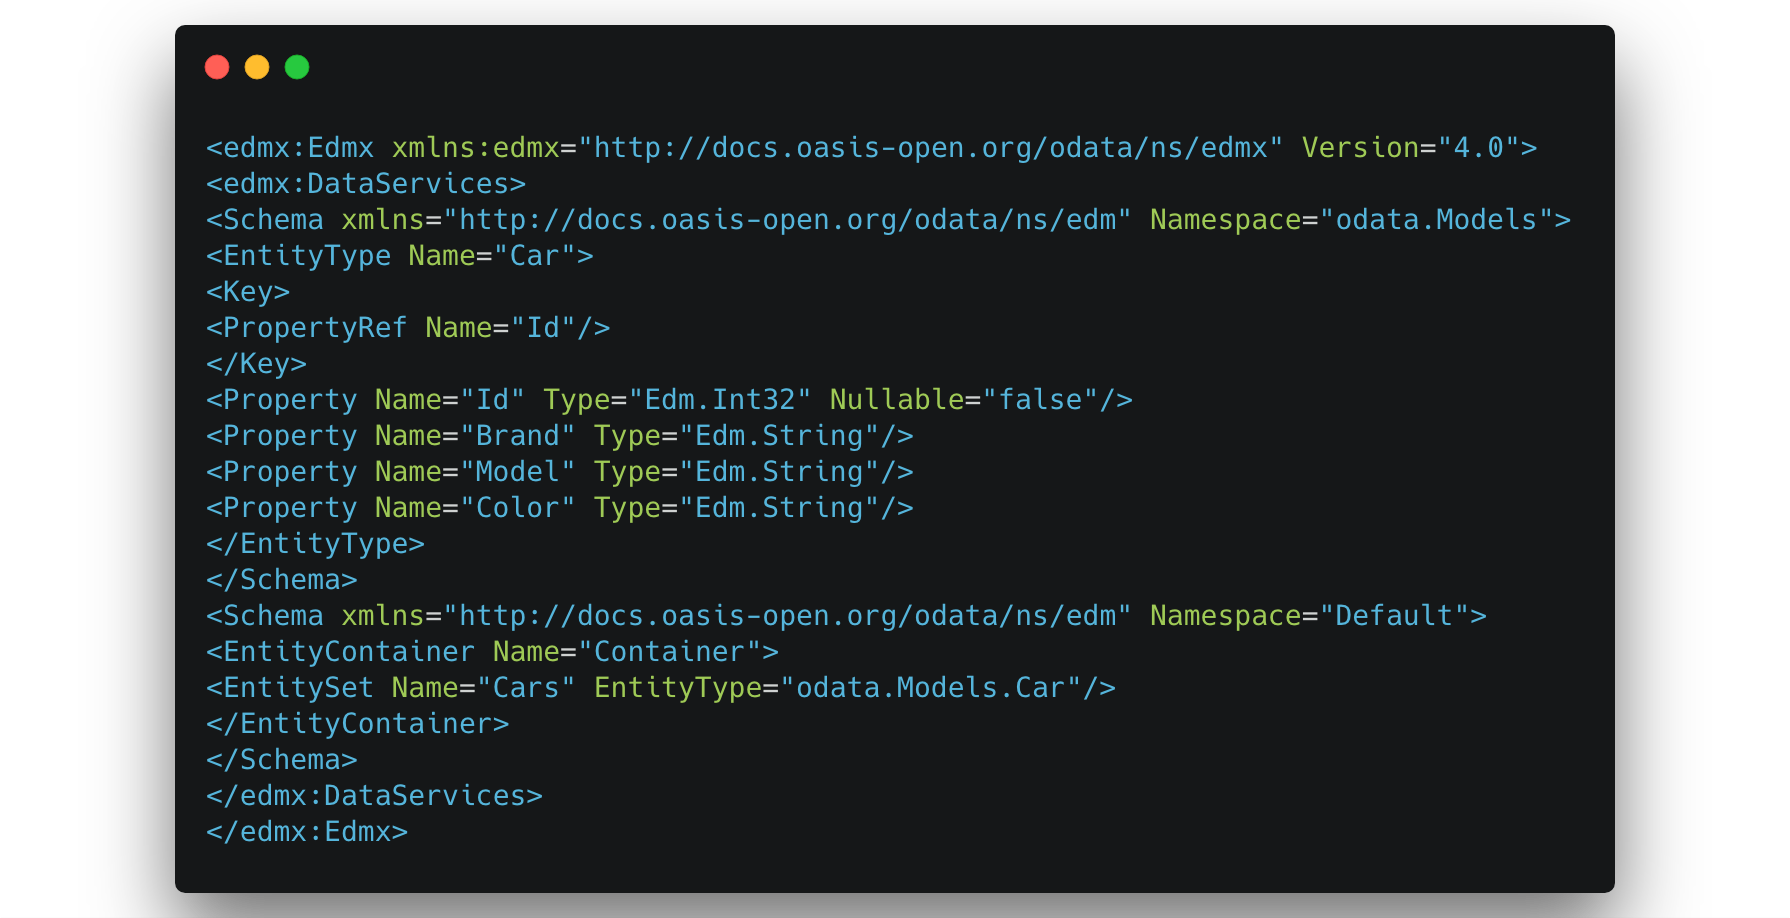
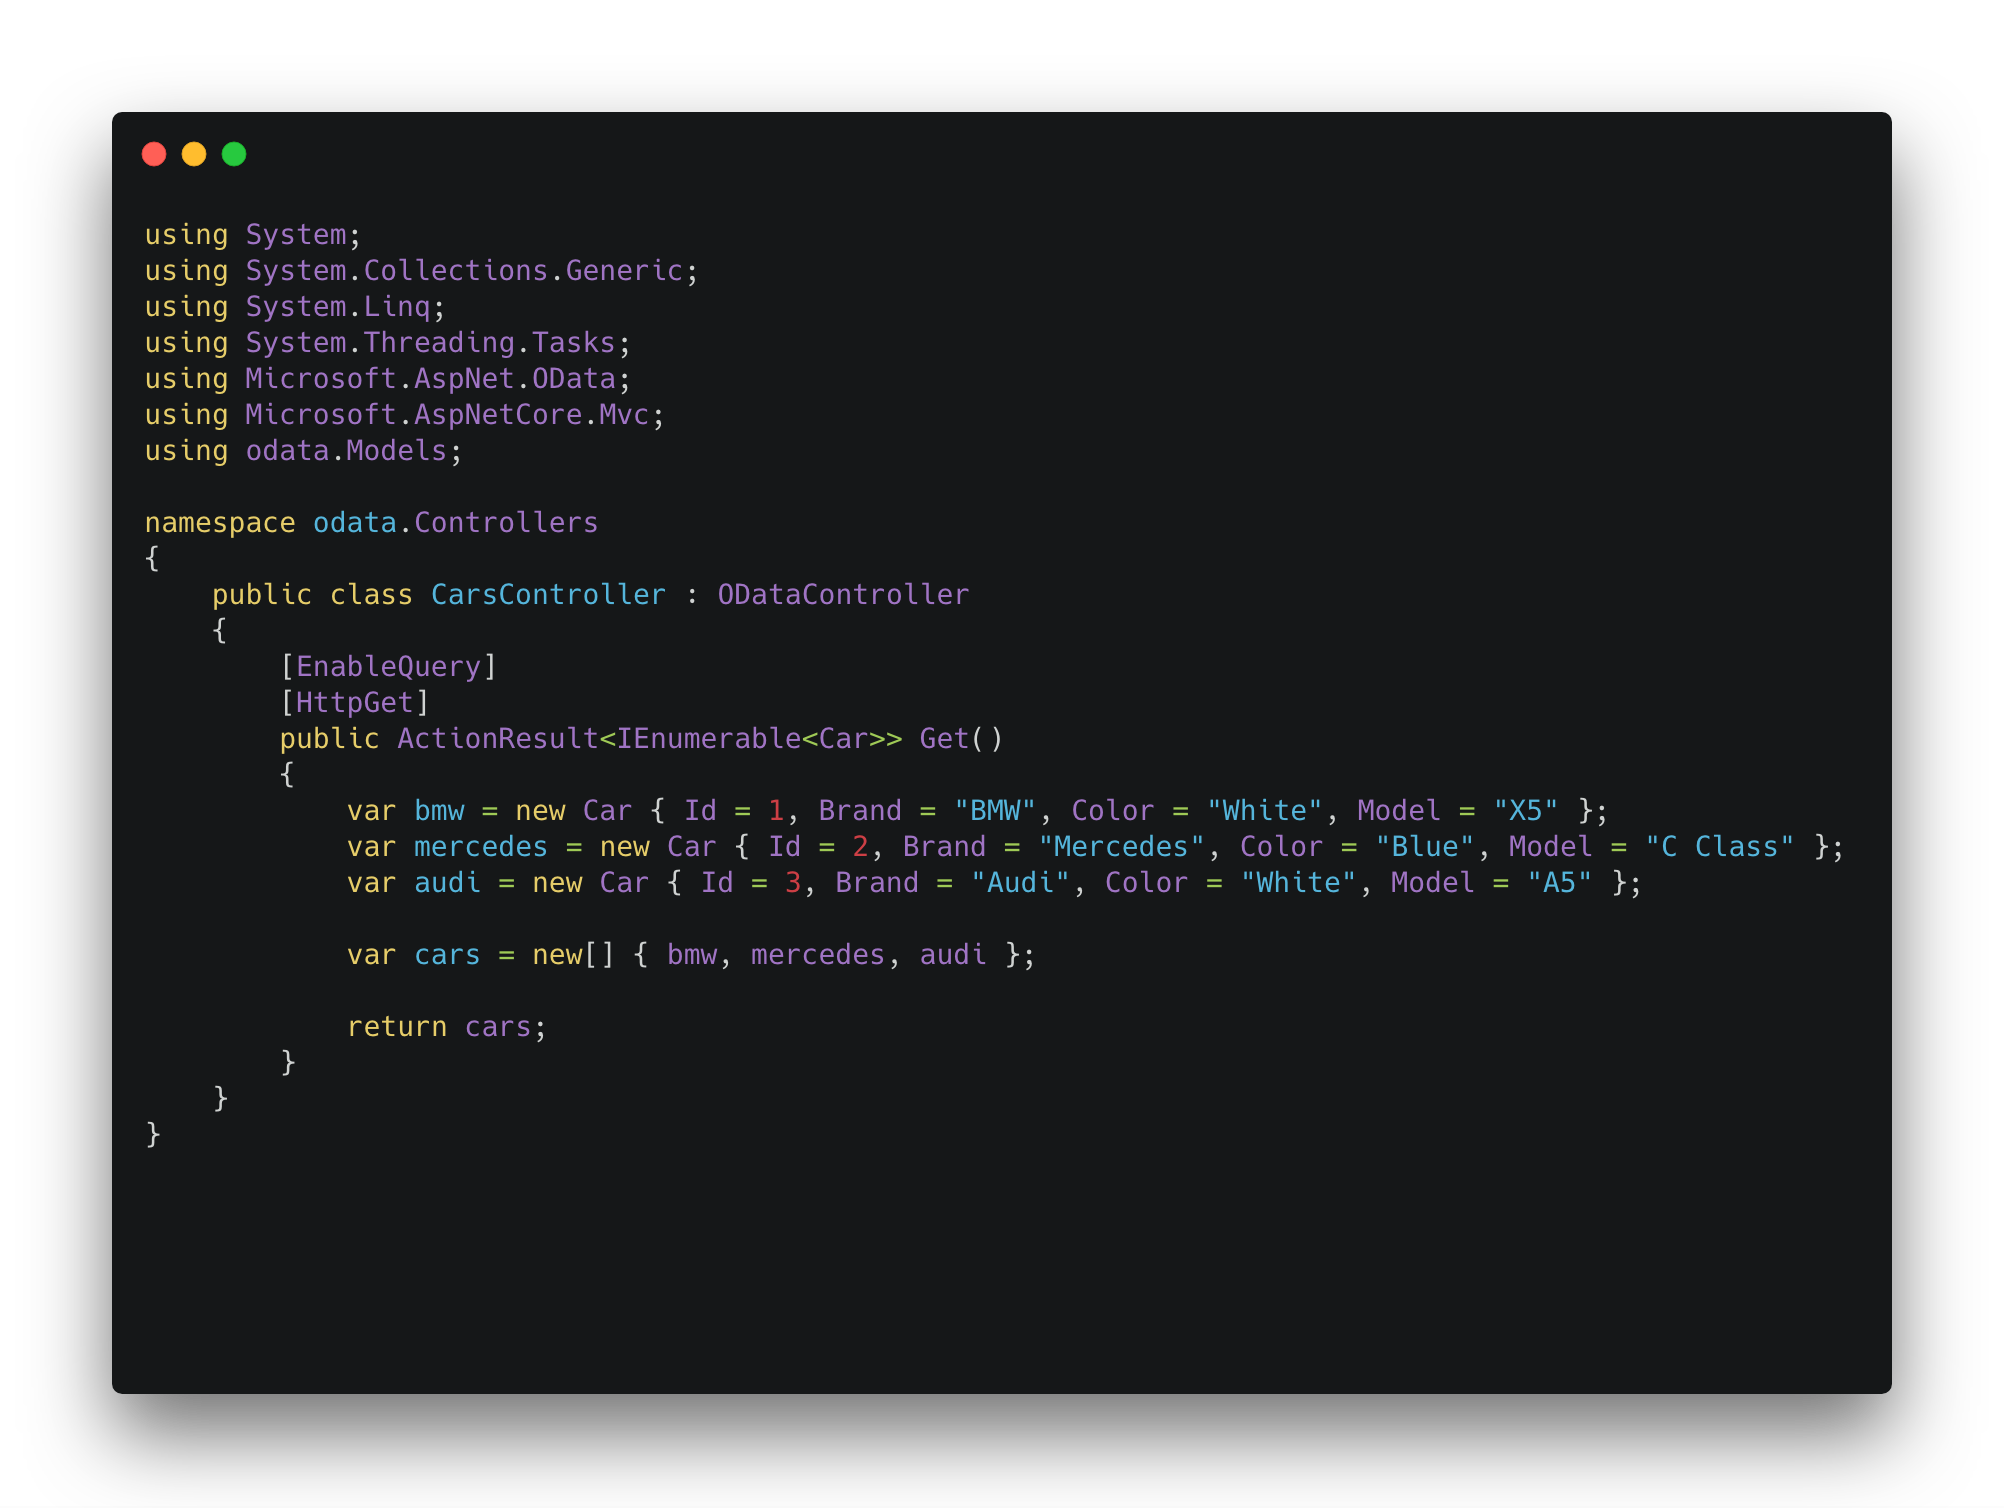
As seen above the OData configuration is working perfectly fine. Now we have to change the Controller to act as a OData Controller and no longer as a API Controller. For this purpose I create a new Controller called CarsController.
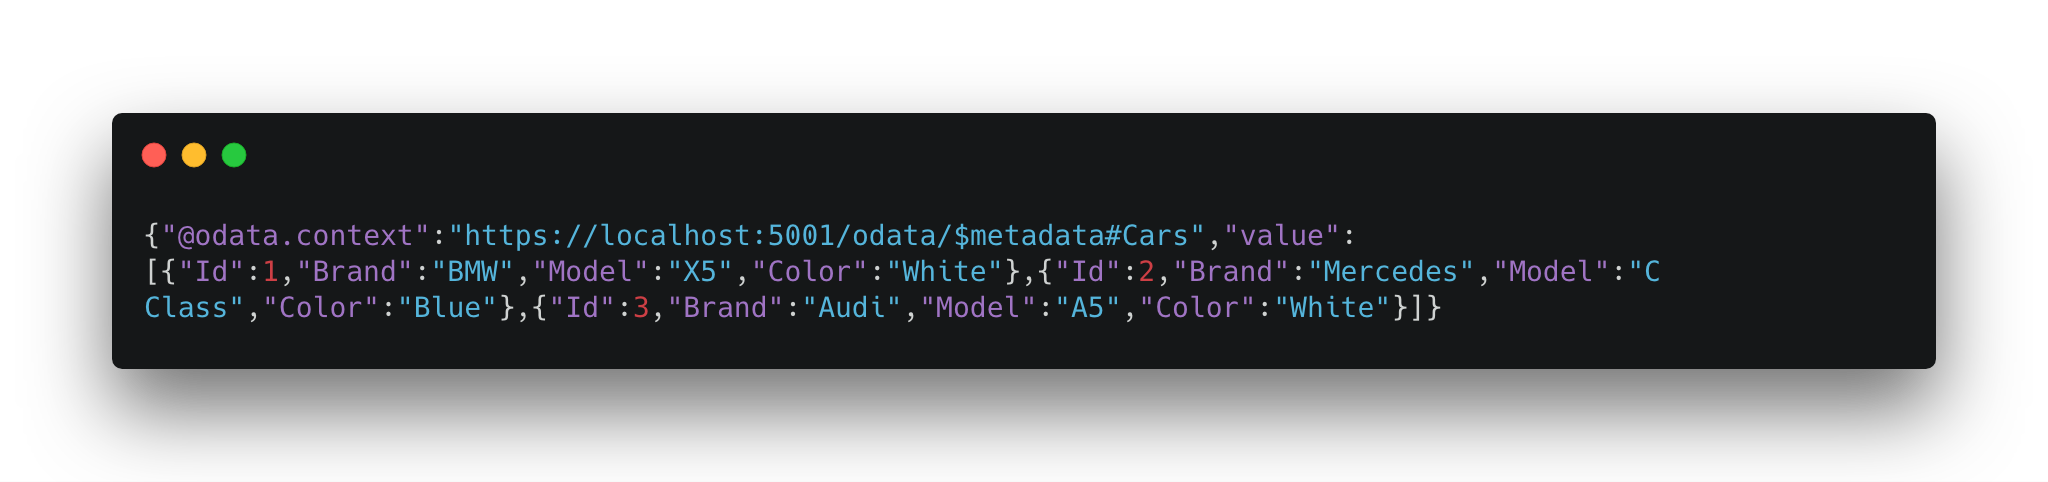
After running the app now we can access the data by calling https://localhost:5001/odata/cars. In the browser window we get the following response displayed.
Adding more OData functionality
Well, thats everything you have to do to get your data via the OData Standard. However, we also want to make use of the OData specific query functions like filter or search. For this we have to make a little extensions to the Startup.cs file.
After adding the additional functionality you can use the full potential of OData in your Web API. For example querying only elements where the Id = 1 is simple as putting https://localhost:5001/odata/cars?$filter=Id eq 1 in your address bar. Another use case could be only retrieving the brand names instead of the full objects. This can be done by using a select query like https://localhost:5001/odata/cars?$select=brand.
For all the possibilities go to https://odata.org.
You can find the source code of this tutorial on my GitHub Page.
Happy Coding :).